DIY repair guidance applies to privately owned wheelchairs only. In England, NHS-loan wheelchairs must be repaired by the wheelchair service's approved repairer; do not repair or modify loan equipment yourself. Check your loan conditions.
Build Your Roadside Repair Kit
A good kit is small, light, and lives with the chair, not in a drawer at home. Everything below fits in a seat-back pouch or under-seat bag, and each item earns its place.
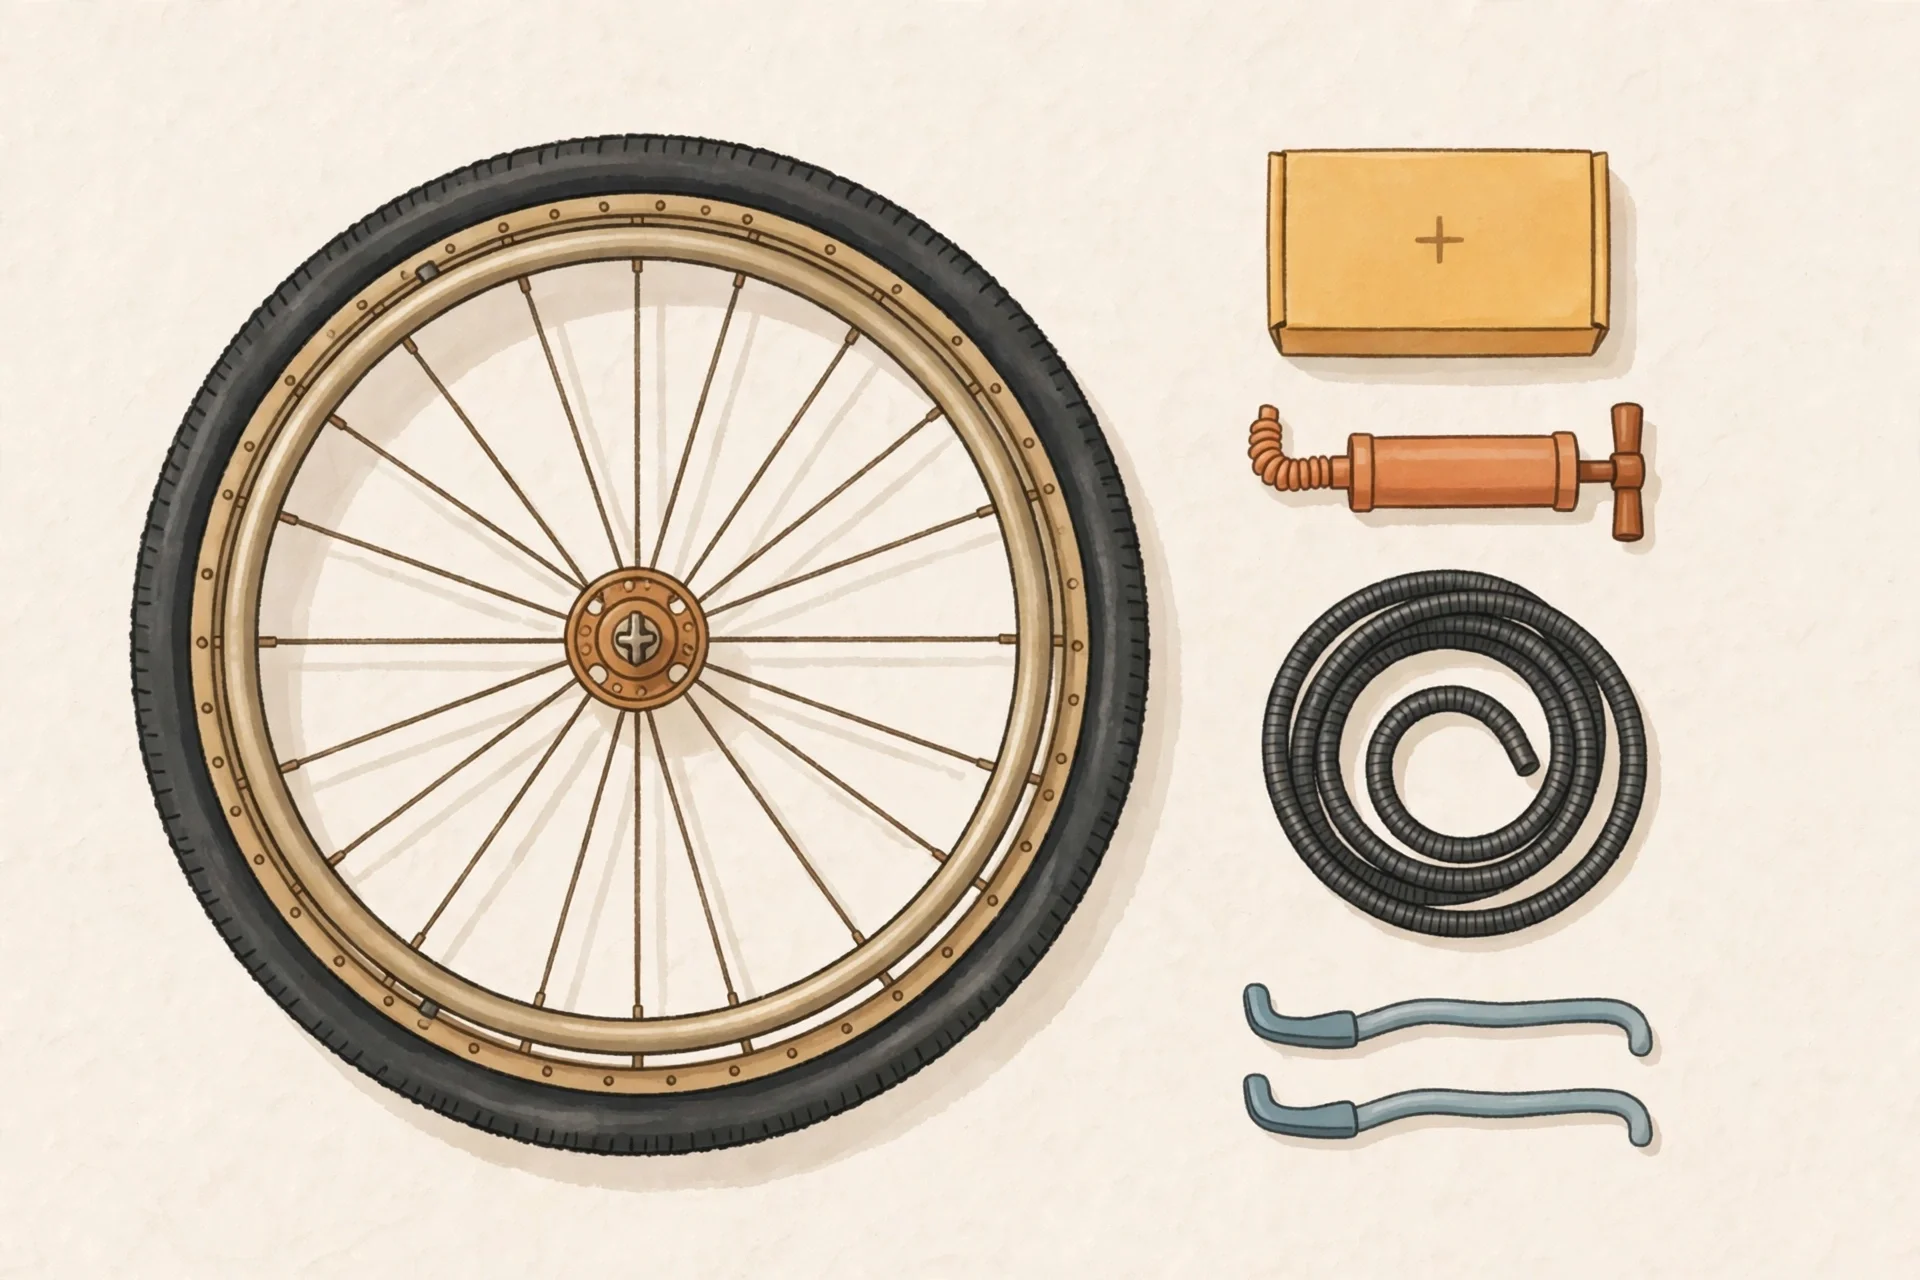
- Puncture repair patches with rubber cement (a vulcanising kit). This is the core of the fix: a patch bonded over the hole with cement is far more reliable than a stick-on patch alone. - Sandpaper or a roughing tool. The tube's surface must be textured before the cement goes on, or the patch will not bond. - Two tyre levers, or one rigid flat tool. These pop the tyre bead off the rim. Plastic levers are kinder to rims; in a pinch any rigid flat metal object works, but metal needs a gentle hand. - A mini pump with a pressure gauge. You need to reinflate to the pressure printed on your tyre's sidewall, and guessing is how tubes get over-inflated. - A spare inner tube in the correct size, if you have room. Swapping a tube is faster than patching one, and it is your backup if the damage is too big to patch. - A marker pen or chalk. Once you find the hole, mark it; tiny holes have a habit of disappearing the moment you look away. - A water bottle. Pouring water over an inflated tube section by section reveals the leak as a stream of bubbles. - Wet wipes and a pair of disposable gloves. Roadside repairs are grimy work, and you will be handling the chair's handrims afterwards. - A small wrench that matches your axle hardware. Some chairs use quick-release axles that need no tools, but bolted axles may need a specific wrench; check yours at home and carry the right one. - A zip-lock bag. For the wet, dirty tube on the way home, and for keeping the kit's small parts together.
Pack the kit once, then leave it on the chair. A repair kit at home is a repair kit you do not have when the puncture happens.
Step-by-Step Roadside Repair
This procedure follows the well-tested sequence used in community repair guides for wheelchair tube patching, adapted for a roadside setting. Expect it to take 15 to 30 minutes, and a little longer the first time.
First, get somewhere safe and level: off the path, out of traffic, on firm ground. Apply the wheel locks, and if the chair is powered, switch it off. Work on the punctured wheel only; leave the other wheel locked.
Remove the wheel. On a quick-release axle, press the release button and slide the axle out. On a bolted axle, loosen the axle nut and bolt with your wrench and lift the wheel free. Lay the wheel flat with the valve side up so you can find it later.
Break the tyre bead. Slide a tyre lever between the rubber tyre and the metal rim, hook it under the tyre edge, and lever the bead up and over the rim. Work the lever around the rim to free one whole side of the tyre. Go gently here: the back of a metal tool can nick the inner tube or gouge the rim, creating a second problem. Once one side is off, pull the inner tube out from under the tyre.
Find the leak. Inflate the tube slightly so it holds its shape, then pour water over it section by section, squeezing gently. A steady stream of bubbles marks the hole. If you have no water to spare, listen and feel for hissing air instead. Dry the tube and mark the spot clearly.
Prepare and patch. Roughen an area slightly larger than the patch with sandpaper, then wipe off the rubber dust. Spread a thin layer of rubber cement over an area slightly bigger than the hole and let it set for about five minutes, until it is tacky rather than wet. Peel the patch from its backing, centre it over the hole, and press it down firmly, smoothing from the centre outward so no air is trapped underneath.
This next step is the one most people skip, and it is the classic reason a repair fails minutes later: before the tube goes back in, run your fingers carefully around the inside of the tyre to find whatever caused the puncture. Thorns, glass shards, and wire bristles hide in the tread. Remove the culprit, or you will puncture the repaired tube on the first revolution.
Refit the tube and tyre. Partly inflate the tube so it holds its shape, line the valve up with the valve hole in the rim, and tuck the tube evenly inside the tyre, working all the way around. Avoid twists and pinches; a pinched tube will blow out when inflated. Roll the tyre bead back onto the rim, then inflate to the pressure printed on the tyre's sidewall. Wheelchair pneumatic tyres commonly carry ratings such as 65 psi for standard tyres and higher for high-pressure models, but your sidewall is the authority, not any number from a guide. Never exceed the maximum.
Refit the wheel to the chair, tighten the axle hardware properly, and spin the wheel to check it runs true without wobbling or rubbing. Release the locks and take a short test push before setting off properly.
One honest caveat: wheelchair manufacturers generally advise that punctures be handled by a proper workshop. Motion Composites, for example, instructs users to consult a bike repair centre or wheelchair repair centre and have the tube repaired or replaced by a qualified person. Treat a roadside patch as a get-home repair, and have the wheel properly checked or the tube replaced at your next opportunity.
Prevention: Tyres, Pressure, and Routine Checks
The best roadside repair is the one you never need. Most wheelchair punctures come from the same few causes, and all of them respond to routine.
Keep your tyres at the correct pressure. Soft tyres pinch against the rim more easily, pick up debris more readily, and are noticeably harder to push. Check pressure regularly, weekly is a good habit, with a gauge, and inflate to the rating on the tyre sidewall. Check before a long day out the way you would check before a long drive.
Inspect the tyres themselves. Look for worn tread, cracked sidewalls, and embedded debris you can pick out before it works through to the tube. Replace tyres that are worn, perished, or damaged; a tyre past its best is a puncture waiting to happen. And respect the sidewall's maximum pressure: over-inflation can damage the tyre and, in extreme cases, cause it to fail.
Choose your route with tyres in mind. Broken glass near bins and bus stops, thorn hedges, and construction debris cause the bulk of punctures. If flats keep happening despite good maintenance, ask your dealer about puncture-resistant or solid tyre options, and weigh the trade-off honestly: they eliminate most punctures but usually add weight and change the ride feel.
After any period of storage, inspect the chair before heading out: tyres, pressure, and a spin of each wheel. And the NHS-loan reminder once more: if the chair belongs to a wheelchair service, report the puncture to their approved repairer and let them handle it. That is what the free repair service is for.