Procedures and light patterns are per the Permobil charging guide (maintenance-free AGM batteries) and the WHILL Model Ci2 manual (lithium-ion battery); they differ by brand and chemistry. Permobil's 8/12-hour figures apply to its AGM setups only — follow your own manual.
Choosing a compatible charger
Start with the charger that came with your chair. Both Permobil's charging guide and WHILL's user manual document only the supplied charger's behavior — the indicator meanings, the automatic shutoff, and the timing all assume the original unit. WHILL's manual gives a telling symptom of a wrong combination: if the charger indicator turns green right away even though the battery is not fully charged, a battery other than the one provided with the device may have been used.
If you need a replacement charger, match it to your chair and battery rather than grabbing any charger with a fitting plug. Check the charger's nameplate for voltage and current and compare it against your battery's rating — never use a charger rated for a different voltage, and never modify a charger or its plug.
Charge indoors in normal room conditions. Permobil's guide recommends charging and storing the chair at a normal indoor temperature of around 20°C, noting that colder conditions make charging take longer and can reduce the distance you get per charge. Set the charger on a hard, dry surface with ventilation, and keep it away from moisture.
Plugging in: the correct sequence
The exact sequence differs slightly by brand, so your own manual is the authority — but the logic is the same in both: connect to the chair first, then to the wall.
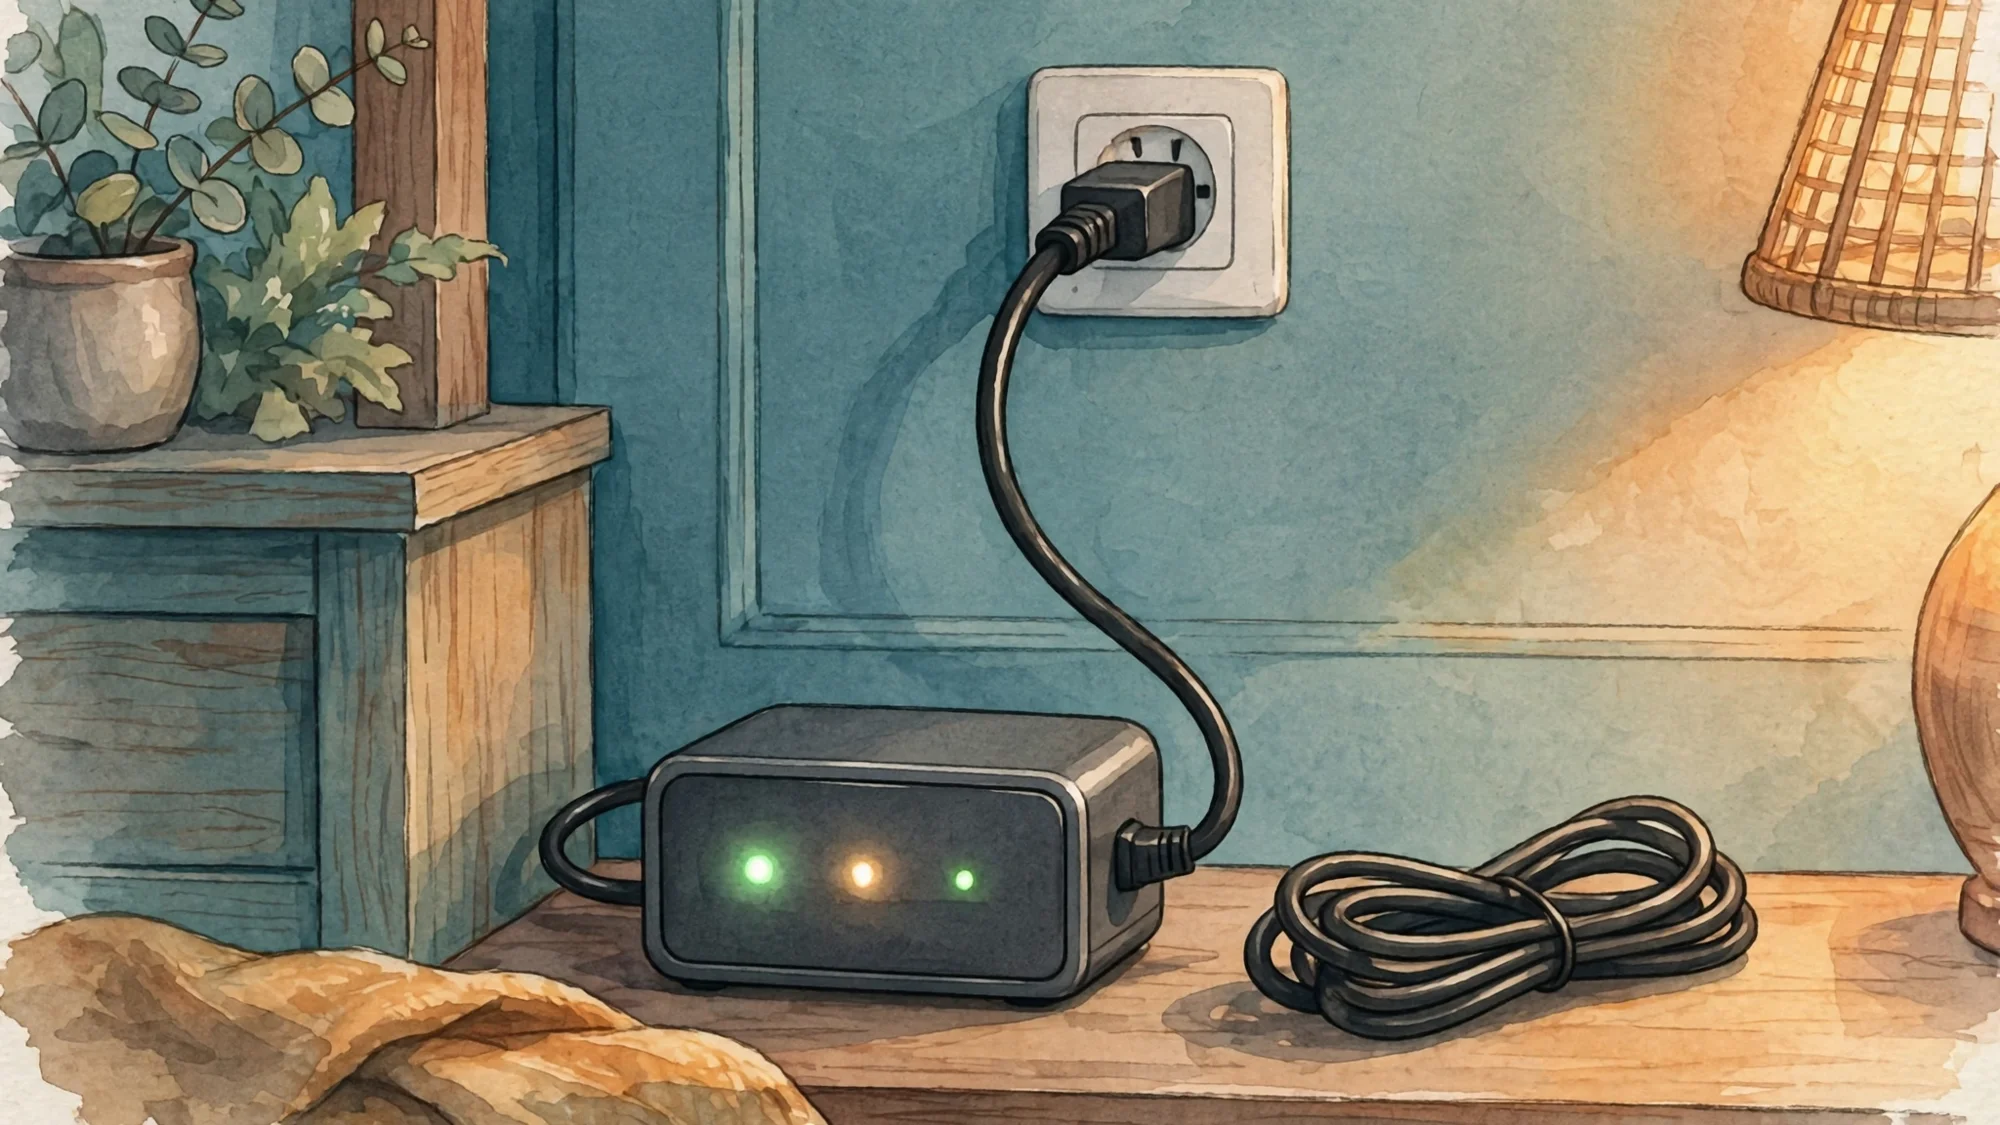
Permobil's guide instructs you to connect the charger plug to the charging socket (located on the joystick, the control panel, or an external charging port), then plug the charger into the wall outlet. Charging begins automatically.
WHILL's Model Ci2 procedure runs in a similar order: plug the charger into the wall outlet, remove the cap from the battery charging port, check the orientation of the DC connector, and connect it to the battery. The charger indicator starts flashing green and charging begins.
When charging is finished, disconnect in reverse. Permobil says to disconnect the wall plug first, then the charging plug from the wheelchair. WHILL says to disconnect the DC connector from the battery first, then the wall plug — then close the charging port cap and reinstall the battery, pressing it in until it clicks.
One more Permobil detail: its charger operates automatically and needs no monitoring, and it should not be plugged into a socket with a timer. Do not interrupt the charge until it is complete.
Reading the indicator lights
Learn your charger's lights and you will never need to guess when charging is done.
WHILL Model Ci2 — charger indicator: flashing green means charging; solid green means charging completed; solid red means standby (the charger is connected to the wall outlet but not to the battery); flashing red means a charging error. If the indicator flashes red, the charger is not properly connected — disconnect and reconnect. If it keeps flashing red after several attempts, a battery or charger malfunction may have occurred, and the manual says to contact your distributor. The battery LED adds detail: green means full charge, orange means roughly 30% to full, red means below roughly 30%, and purple means no charge. Charging is complete when the charger indicator and the battery LED both show green.
Permobil — the completion signal is simpler: when charging is complete, all four lights on the charger illuminate, and you can leave the charger connected until you next use the chair.
How long should it take? Only your manual can answer that. Permobil's guide gives its own figures: a normal charge should last at least 8 hours, and fully discharged batteries need approximately 12 hours to reach full charge. WHILL's manual gives no time figures at all — for that charger, the indicator lights are the judgment method, not the clock.
Charging habits and storage
Make charging a nightly routine. Permobil recommends charging the chair every evening when you have finished driving and it is parked. If the chair is rarely used and the battery seldom drops below 50%, Permobil advises using the chair more intensively once a week so the level reaches the red zone before charging.
Do not top up briefly during the day and pull the plug early; wait for the full-charge indication each time. Keep the cord routed where it will not be stepped on, tripped over, or pinched.
Before any long period of non-use, fully charge the battery. WHILL advises charging the battery at least once a month during long storage, warning that a battery left over-depleted may not be chargeable at all. Then store the chair in a clean, dry place — and when you return, check the indicator before your first trip out.