
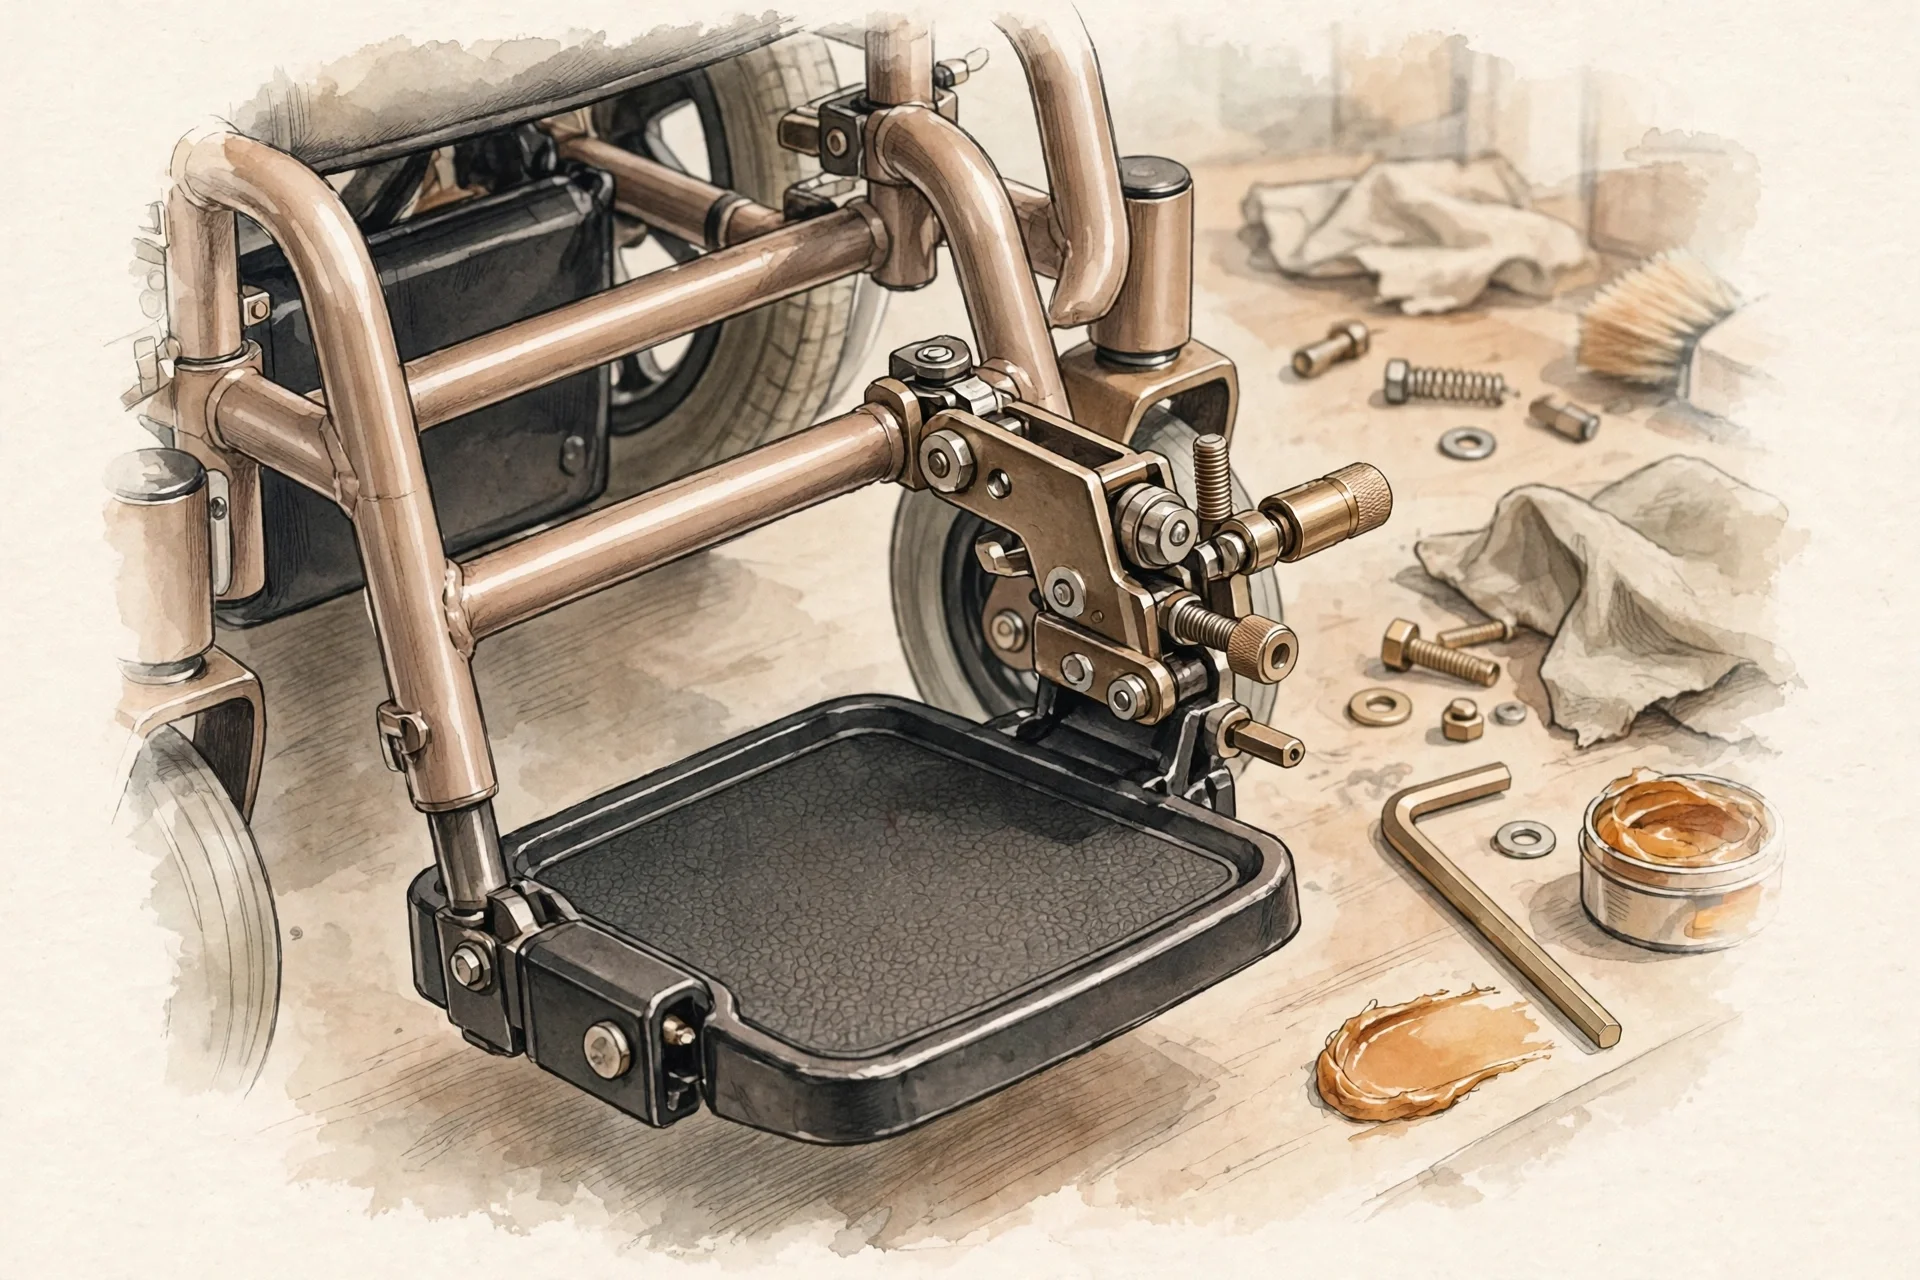
General adjustment patterns; exact fasteners, torque values and powered functions vary by model — always follow your chair's own user manual. For posture or seating-fit questions, consult an occupational therapist or your dealer.
Know Your Footrest Type
Before touching a single bolt, identify which footrest system your chair uses, because the adjustment method is completely different. Most power wheelchairs use one of four setups. Swing-away footrests — also called swing-in/swing-out — hang from the front frame tubes and rotate outward to clear the way for transfers; a release lever or latch locks them in place, and height is set by sliding the footrest tube up or down inside the receiver. Flip-up footplates are hinged plates that can be tilted up out of the way; underneath you will usually find an angle-adjustment screw that sets the resting angle. Center-mount footrests hang from a single post under the seat rather than two separate hangers; they can be a single wide platform or split left/right plates, and they are common on chairs where a tight turning radius matters. Finally, powered footrests use electric actuators: the leg-rest angle is tilted by a control button, and the leg length — the distance from seat to footplate — is raised or lowered by a powered mechanism, all from the chair's control panel. Permobil's ICS seat control panel, for example, treats 'leg rest angle' and 'power adjustable leg length' as separate functions, alongside dedicated power footplates and a power transfer footplate that lowers the plate while raising the seat lift to ease getting in and out. How to tell which you have: look for a small release lever near the hanger (swing-away), a hinge under the plate (flip-up), a single central post (center-mount), or a motorized mechanism with wiring and a control-panel function (powered). If you see an actuator motor on the legrest, treat it as powered — do not loosen any bolts on it. Your chair's user manual names the exact system and is always the authority for your model; the steps below are general patterns, not a substitute for it.
Adjusting Height and Angle, Step by Step
Manual adjustments follow the same logic across most models: loosen, reposition, retighten — then check both sides are even. For leg-rest length (the height of the footplates): park the chair on a level surface and switch it off. Find the clamp on the footrest tube — on many models this is a screw or bolt tightened with a hex key; your user manual gives the exact tool and torque. Loosen it just enough that the tube slides, move the footrest up or down to your setting, and retighten securely. Set both sides to the same length unless your chair was fitted asymmetrically by your clinician — if it was, match your recorded settings. A commonly used starting reference is a knee angle close to ninety degrees when your feet rest flat on the plates, but Sunrise Medical's official posture guidance notes that a strict ninety degrees is not always practical — for some users it can interfere with the front casters — so treat it as a starting point, not a rule. For footplate angle: flip the footplate up to expose the adjustment screw beneath, turn it in or out to change the resting angle, then lock it. Adjust each plate so the whole sole of your foot can rest comfortably without your ankles straining. For powered footrests: select the leg-rest or footplate function on your control panel and use the assigned buttons to tilt the leg rest forward or back and to raise or lower the footplate; on the ICS system, for example, the footplate is raised with the upper part of the button and lowered with the lower part. Release the button to stop at any position. After any adjustment, manual or powered, run three checks: every bolt you touched is tight; each footplate locks positively in position; and the plates clear the casters and the ground through the full range of powered movement before you drive. Sit in the chair for a few minutes before finalizing — a setting that looks right when the chair is empty often feels different under load.
Safety Checks and When to Call a Professional
Safety first. Never stand on the footplates — they are designed to support your feet, not your body weight, and standing on them can tip the chair. Keep your fingers clear of moving parts while operating powered leg rests; manufacturers warn of pinch points between the mechanism's moving parts, and nothing — clothing, bags, your hands — should get stuck between them. If you drive with the leg rests extended, watch your surroundings: extended footrests change your chair's footprint and can catch on door frames or thresholds. Before driving after an adjustment, confirm the footplates have enough ground clearance that they cannot snag on ramps or curbs, and that nothing you touched is loose. Do not use the leg rests to lift or carry the wheelchair. Know when to stop adjusting yourself. If you cannot find a setting where both feet rest comfortably, if the chair pushes you forward in the seat, if your heels drag on the casters, or if a powered function moves only one way or not at all, contact your dealer or an occupational therapist rather than forcing it — Sunrise Medical's official guidance recommends having an experienced therapist or equipment supplier evaluate your specific requirements when configuring a wheelchair. The same applies after a significant change in your condition, weight or cushion: what fit six months ago may not fit now. Keep a note of your settings (for example, how far the footrest tubes protrude, or the memory position you saved) so you can return to them if anything shifts. Small, careful adjustments are a normal part of owning a power wheelchair; wholesale re-fitting is a job for professionals.