Both sources are manufacturer pages opened and verified on 2026-10-13: Sunrise Medical's SEDEO PRO seating page (headrest height adjustable, SEDEO/WHITMYER headrest options, swing-away positioning elements) and Permobil's Corpus 3G headrest page (adjustment handles for height and angle). Headrest width and link-hardware details cross-checked against Permobil's official link-hardware product description.
What the headrest is doing on your chair
The headrest on a power wheelchair is one part of the seating and positioning system, mounted at the top of the backrest. Its pad sits behind the head and its bracket connects down into a receiver on the backrest frame. Because it is bolted to the seating rather than to the drive base, it moves whenever the backrest reclines or the seat tilts, which is why its adjustment is handled as part of seating setup rather than as a separate accessory.
On chairs with configurable seating, such as Sunrise Medical's SEDEO PRO, the headrest is listed alongside the backrest, armrests and legrests as one of the routinely adjustable elements. The adjustment options on such systems — seat depth and width, backrest angle and height, and headrest height — are presented as tools for fitting the chair to the user, and Sunrise notes that they can be done quickly with a single tool when requirements change.
Headrests also appear in the discussion of vehicle transport. Several user manuals instruct that if a headrest is part of the selected seating, the chair should not be driven without it attached, and some advise keeping it fitted when the chair is used for occupied transport in a vehicle. Whether your chair is rated for occupied transport depends on the specific model and its crash-test rating, so the user manual that came with your chair is the authority here, not the headrest itself.
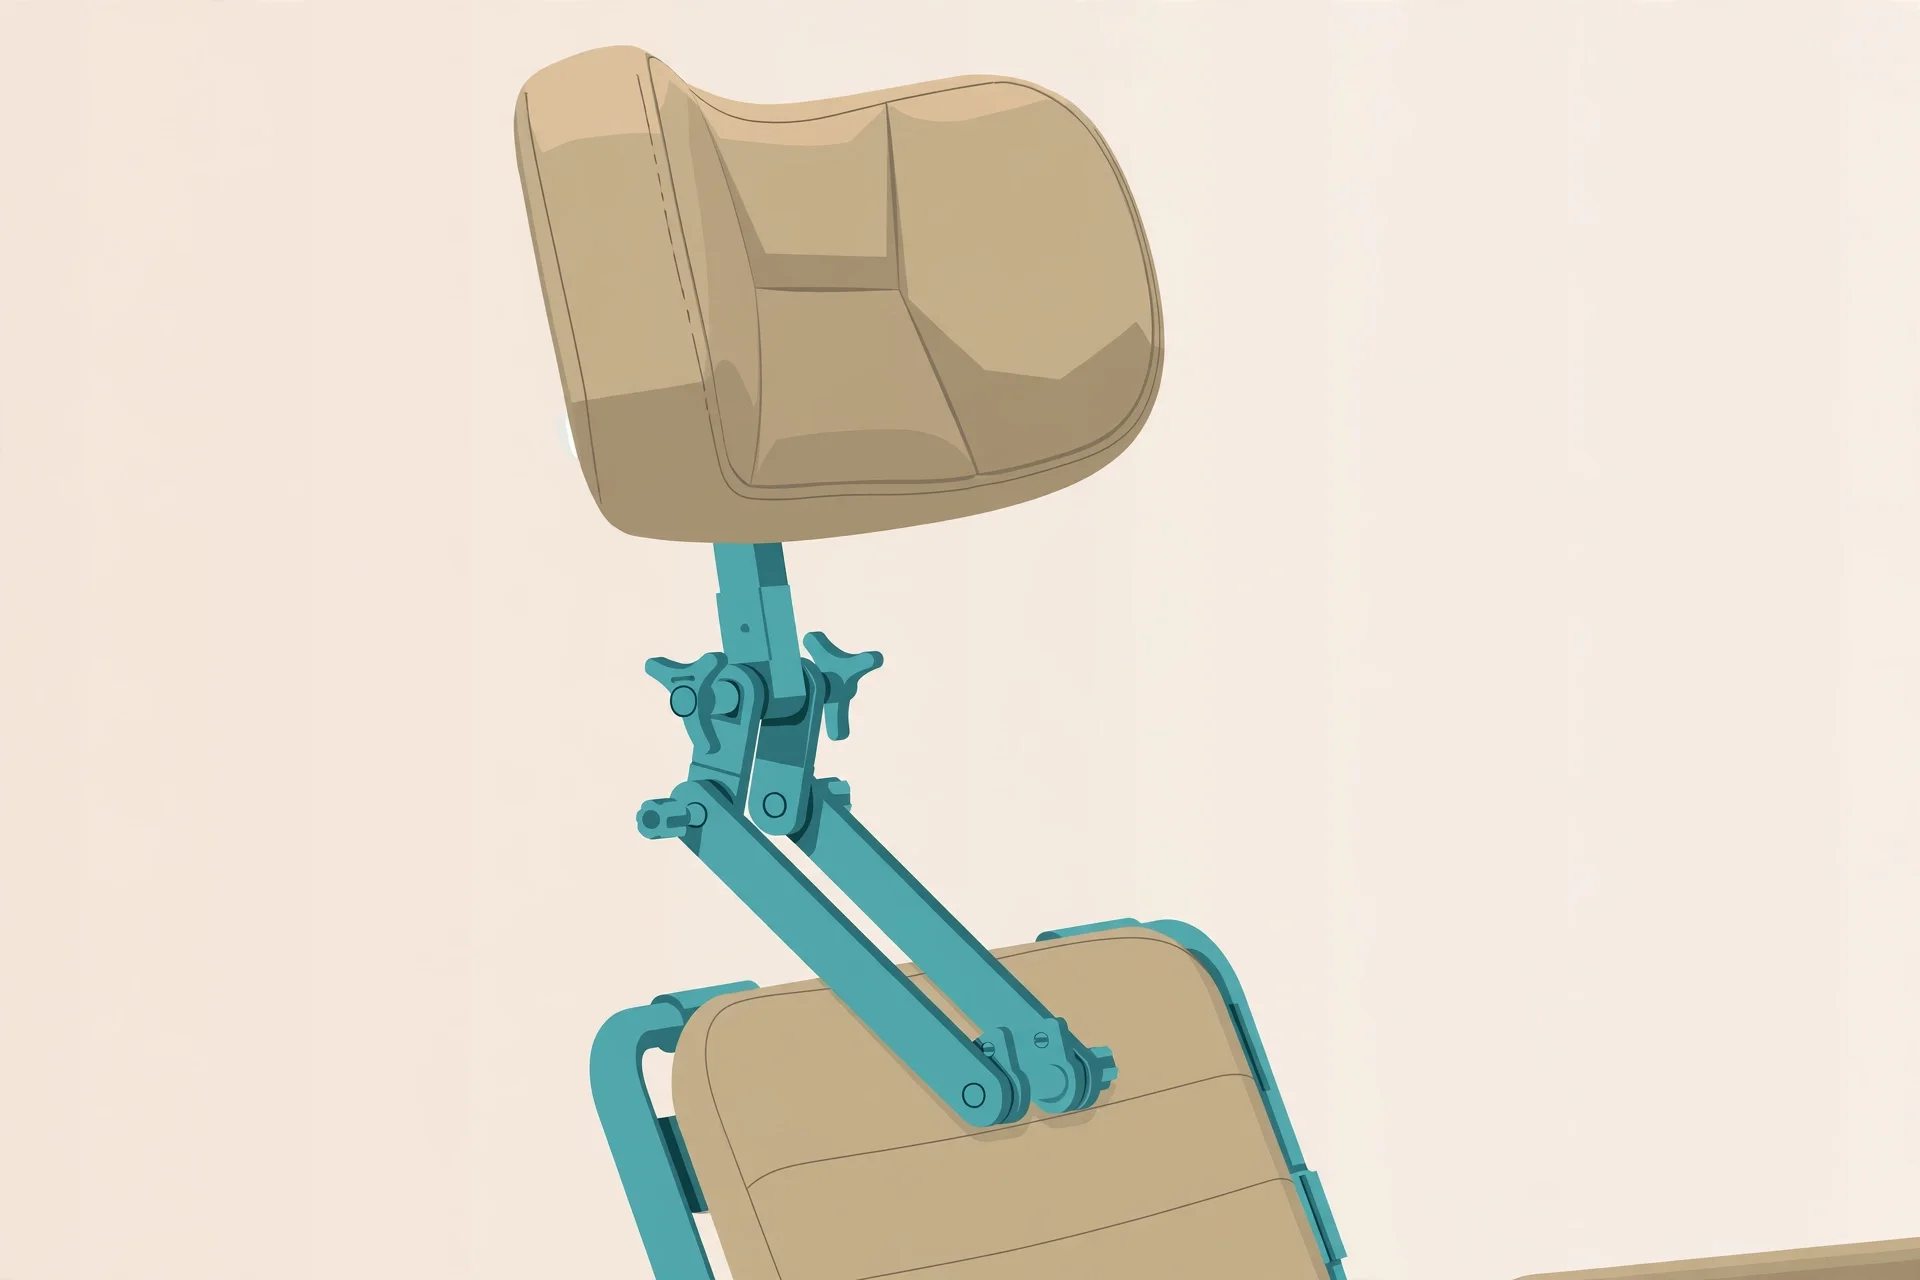
It helps to think of the headrest as having two halves: the pad, which is the part your head rests against, and the mounting hardware, which sets where the pad sits in space. The pad determines comfort and contact area; the hardware determines adjustability. When people talk about 'adjusting the headrest', they usually mean moving the hardware so the pad lands in the right place — height, depth and angle — and then locking it down.
One more thing worth knowing before touching anything: headrest hardware is usually set at handover by the dealer or seating provider. It is normal for it to need re-adjustment later, for example after the backrest height is changed, a different cushion is fitted, or the chair has been folded or dismantled for transport. Periodic checks that the handles and screws are still tight are part of normal ownership, and manuals commonly ask users to report loose fittings to their provider rather than forcing them tighter. If you are unsure which bracket system your chair uses, the seating order form or the dealer's handover notes will name it — matching the hardware to the right adjustment method avoids stripped threads and wasted time.
The main pad styles you will see
The simplest headrest pad is the standard rectangular pad: a flat or gently curved cushion, sized to support the back of the head, mounted on a single post or bracket. Permobil's Corpus 3G headrest is an example of this style — the standard pad that ships with the Corpus 3G seating. It is designed to be unobtrusive while giving the basic head support most users need, and Permobil describes its adjustment as a matter of handles that set height and angle.
A step up from the standard pad is the contoured or shaped pad. On Permobil's newer link-hardware headrest, the pad is offered in three widths — 7, 10 and 14 inches — with a dual-layer foam construction covered in a waterproof stretch fabric. The sides of the pad can be shaped to give lateral support around the head, and a row of holes along the back edge provides attachment points for headrest controls or additional supports. This style is aimed at users who need more than a flat surface: the contoured edges help keep the head centred on the pad.
Then there are headrests built around positioning elements. Sunrise Medical, for example, lists SEDEO headrests alongside WHITMYER headrests in its SEDEO PRO positioning range. WHITMYER is known for hardware that supports the head and neck area with shaped pads and lateral components, and Sunrise groups these with swing-away lateral thoracic supports, thigh supports and knee supports as positioning elements that can be swung away or detached. The swing-away idea matters in daily life: a headrest that can be moved aside makes transfers and hoisting easier without removing the whole bracket.
Finally, some manufacturers offer headrests that pivot freely, often on a ball-and-socket or multi-link arrangement, so the pad can be angled in any direction rather than only in one plane. Permobil's modular link hardware takes this approach: the order, number and orientation of the links can be rearranged to put the pad exactly where it is wanted, and all adjustments are made with the on-board tool carried in the backrest. Whatever the style, the practical question is the same — can you get the pad to the position you need, and will it stay there once tightened? Width choice also interacts with the backrest: a pad much wider than the backrest can clash with lateral trunk supports, while a pad much narrower leaves the head unsupported at the sides. When in doubt, match the pad width to the backrest width and the user's shoulder width, and confirm the combination with the seating provider before ordering.
How height, depth and angle adjustments actually work
Height adjustment is the most-used of the three. On many chairs the headrest post slides up and down inside a receiver bracket on the backrest, and a handle or clamp locks it at the chosen height. Permobil's Corpus 3G headrest uses dedicated adjustment handles for height, letting the pad be raised or lowered and then locked without hunting for tools. On the newer modular link-hardware version, height is also set at the backrest receiver, which holds the headrest at several settable heights and can be flipped over to extend the height range further — useful when a taller or shorter user needs more travel than the default setup gives.
Depth — the front-to-back position — is what sets the gap between the back of the head and the pad. On link-style hardware this is done by changing the number, order or orientation of the link segments between the receiver and the pad, which moves the pad forward or back while keeping it at the same height. On simpler brackets, depth is set by sliding the pad assembly along a horizontal slot or by repositioning the mounting plate, then re-tightening. A small number of chairs use a ball-and-socket joint at the pad, where loosening a single clamp lets the pad rotate and slide slightly in all directions before it is locked again.
Angle adjustment controls the tilt of the pad face. On handle-based systems the angle is set by loosening the angle handle, tipping the pad to the wanted tilt and locking it. On link hardware, the angle comes from how the links are clocked relative to each other. Permobil describes the mechanism as strong but light: aluminium keys run the length of each link and interlock with the keys of the next link to maximise surface contact, all inside a moulded high-density polyethylene shell. The practical upshot is that the joints hold their set angle under load instead of drifting.
Two habits keep these adjustments working well. First, always re-tighten in the same session — a handle left half-locked will let the pad creep during driving, and the change is gradual enough that you may not notice for days. Second, adjust with the chair in its normal driving position: seat at normal height, backrest at its usual angle. Setting the headrest while the seat is tilted back and then driving upright will put the pad somewhere you did not intend. If the hardware ever feels gritty, stripped or unable to hold, that is a repair or replacement question for the dealer, not a reason to force it.
Matching the headrest to the rest of your seating
A headrest does not work in isolation; it has to agree with the backrest, the cushion and the other positioning parts. The most common mismatch is width: a 7-inch pad on a wide backrest looks lost and gives little lateral guidance, while a 14-inch pad on a narrow backrest can interfere with the backrest's own lateral supports or with shoulder movement. Manufacturers size pads in steps for this reason — Permobil's 7, 10 and 14 inch options exist so the pad can be matched to the backrest width and the user's build.
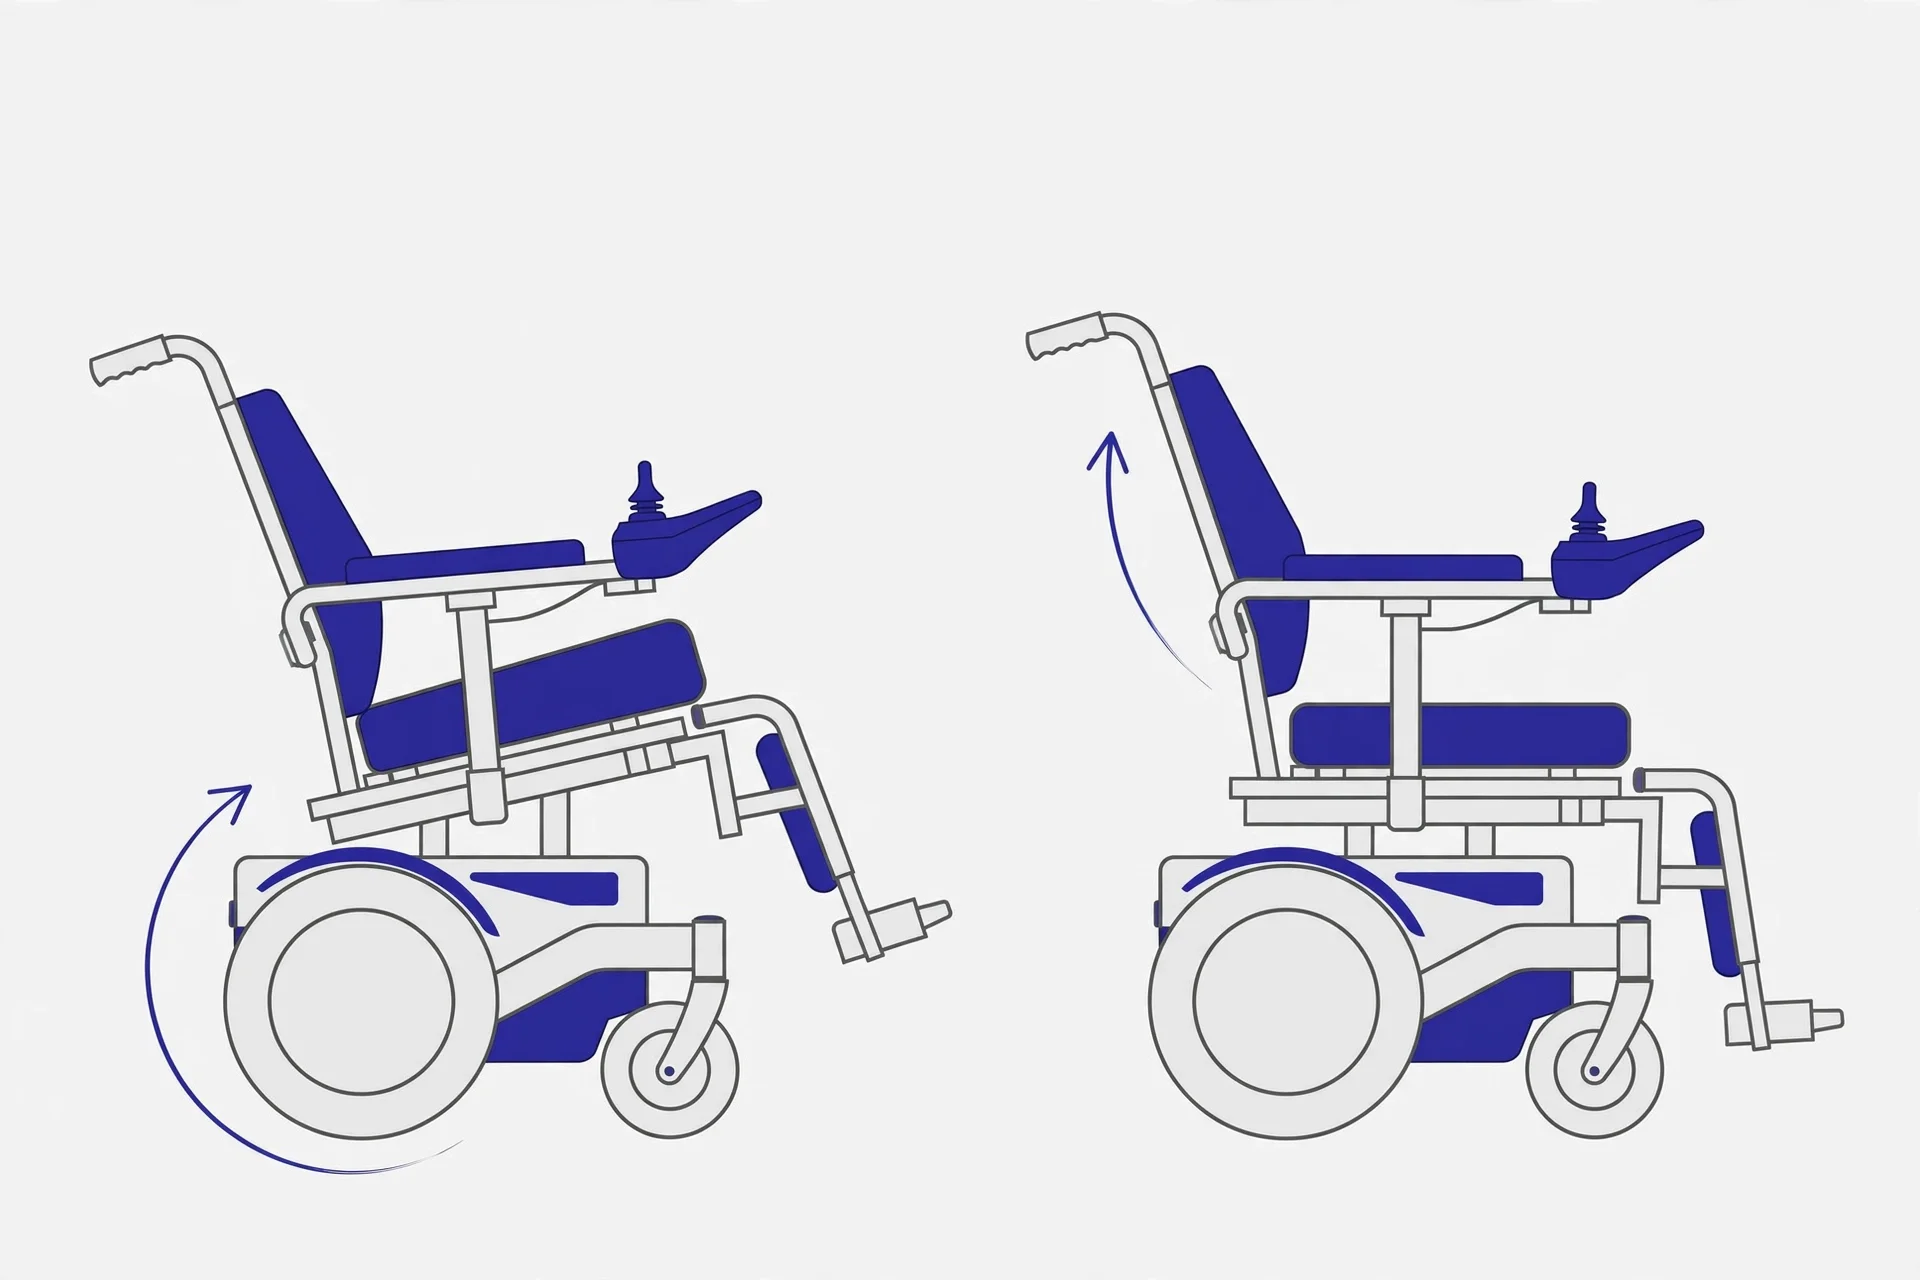
Recline and tilt change the geometry too. When a backrest reclines, the head moves along an arc, and on seating systems with anti-shear backrests the pad is designed to stay in the right relationship to the head through that movement. If your chair has a power recline, it is worth checking the headrest position in both the upright and reclined positions after any re-adjustment, because a pad that is perfect when upright can end up too far forward or back once reclined.
Removability is the other half of the story. Sunrise Medical notes that its SEDEO PRO positioning elements — headrests included — are easily swung away or detached. That matters for transfers, for getting the chair into a car boot, and for anyone who uses a hoist: a quick-release or swing-away headrest means the carer does not have to undo the adjustment to get the pad out of the way. If your headrest is a fixed type and transfers are part of your routine, that is a point to raise when the seating is next reviewed.
Finally, treat the headrest as part of the seating prescription, not as an afterthought. When a new cushion changes your seated height by even a couple of centimetres, the headrest height usually needs to follow. When the backrest angle is changed, the angle and depth usually need a touch-up. Dealers expect this: seating is adjusted as a system, and the headrest is one of its moving parts. A common trigger for re-adjustment is a cushion change. Swapping to a thicker or thinner cushion moves the seated head height, and the headrest should follow — a pad left at the old height will sit too low or too high relative to the head. The same applies after backrest upholstery is replaced or tension-adjustable straps are re-tensioned, since both change how far forward the user sits. None of this requires new parts; it is the normal settling-in that seating providers expect in the first weeks after any change. Keeping a short note of your final settings — height position, link count, angle — makes it easy to restore them after the chair has been dismantled for travel.
A practical adjustment sequence
If your provider has shown you how your headrest adjusts and you need to fine-tune it yourself, this sequence covers the mechanical steps in a sensible order. Start with the chair on level ground, in its normal driving configuration — seat at normal height, backrest at the angle you usually drive with, cushion as normal. Sit in your usual posture, not perched forward or slumped, because the headrest is being set for where you actually sit.
Set the height first. Loosen the height handle or clamp and slide the pad so its centre sits roughly behind the middle of the back of your head — for most people that means the pad supports the head without pushing it forward or leaving the head floating above the pad. Tighten the height lock, but only to a firm hand-tight at this stage; you may revisit it after the other two axes are set.
Next, set the depth. With the height roughly right, adjust the forward-back position so there is a small, even gap between the back of your head and the pad when you sit normally — close enough that the head can rest back onto it, not so close that it pushes your chin down. On link hardware this means re-clocking links; on a sliding bracket it means sliding the plate and re-tightening.
Then set the angle. Tip the pad so its face matches the natural line of the back of your head — usually close to vertical when you sit upright, slightly reclined if you drive with the backrest tilted back. Lock the angle handle and then go back over all three locks, tightening each in turn. Finish by moving through the chair's functions once: recline the backrest and return it, run any tilt, and check the pad is still where you set it. If anything has crept, re-set that axis and tighten a little more firmly.
Stop and call your provider if any handle spins without tightening, if a link joint will not hold its angle, if the pad is cracked or the fabric torn, or if you cannot get all three axes to agree — for example the height you need puts the depth out of reach. Those are hardware or sizing problems, and forcing them usually ends with a stripped thread or a pad that slips at the worst moment. And whenever fittings have been disturbed, give them a re-check after a day or two of driving; new settings settle, and a quick re-tighten then saves trouble later.