Positioning belts are posture aids, not vehicle restraints; suitability and fitting should be confirmed with a clinician, occupational therapist, or the wheelchair manufacturer. Fitting details follow Drive Medical's lap belt instructions (document Z716).
What Is a Positioning Belt, Exactly? (And What It Is Not)
What does a lap belt actually do? Its job is positioning, not protection. Drive Medical's lap belt instructions describe it as designed to support the wheelchair user in maintaining posture and to help keep the user seated on the chair's canvas. In practice, a correctly fitted belt holds the hips and pelvis toward the back of the seat, which keeps the whole sitting posture more upright and stable through the day. Clinicians use the same principle deliberately: seating specialists apply single-strap, two-point pelvic belts with a careful 90-degree pull, meaning the angle between the seat surface and the belt measures about 90 degrees, to stabilise the pelvis against forces that would otherwise tilt or rotate it. The belt is an everyday posture tool, worn during ordinary sitting, not an emergency device.
Is it the same as a car seat belt? No, and this is the single most important misunderstanding to clear up. A wheelchair positioning belt is not a vehicle restraint and must never be treated as one. Drive Medical states it plainly: do not use the lap belt as a seat belt in a motor vehicle, because it can cause serious injury in a traffic accident. Positioning belts are not designed, tested, or certified to protect an occupant in a crash. If you travel seated in your wheelchair in a vehicle, the vehicle must provide its own proper restraint system, fitted to you, and your clinician or transport provider should confirm the setup.
Who typically uses a lap belt? People who tend to slide forward in the seat, whose pelvis drifts, or whose posture collapses without gentle support, usually on the recommendation of an occupational therapist or seating clinician following an assessment. The belt is often one part of a wider seating setup that may include a supportive cushion or backrest.
Do I actually need one? Not everyone does. If you sit upright comfortably all day without sliding, a belt adds nothing. And the manufacturer's own documentation is candid: the lap belt may not be suitable for all wheelchair users, and professional medical advice should be sought before using it as a posture aid. A belt is a clinical decision, even when it looks like a simple strap.
How Should a Lap Belt Fit? A Fitting Walkthrough
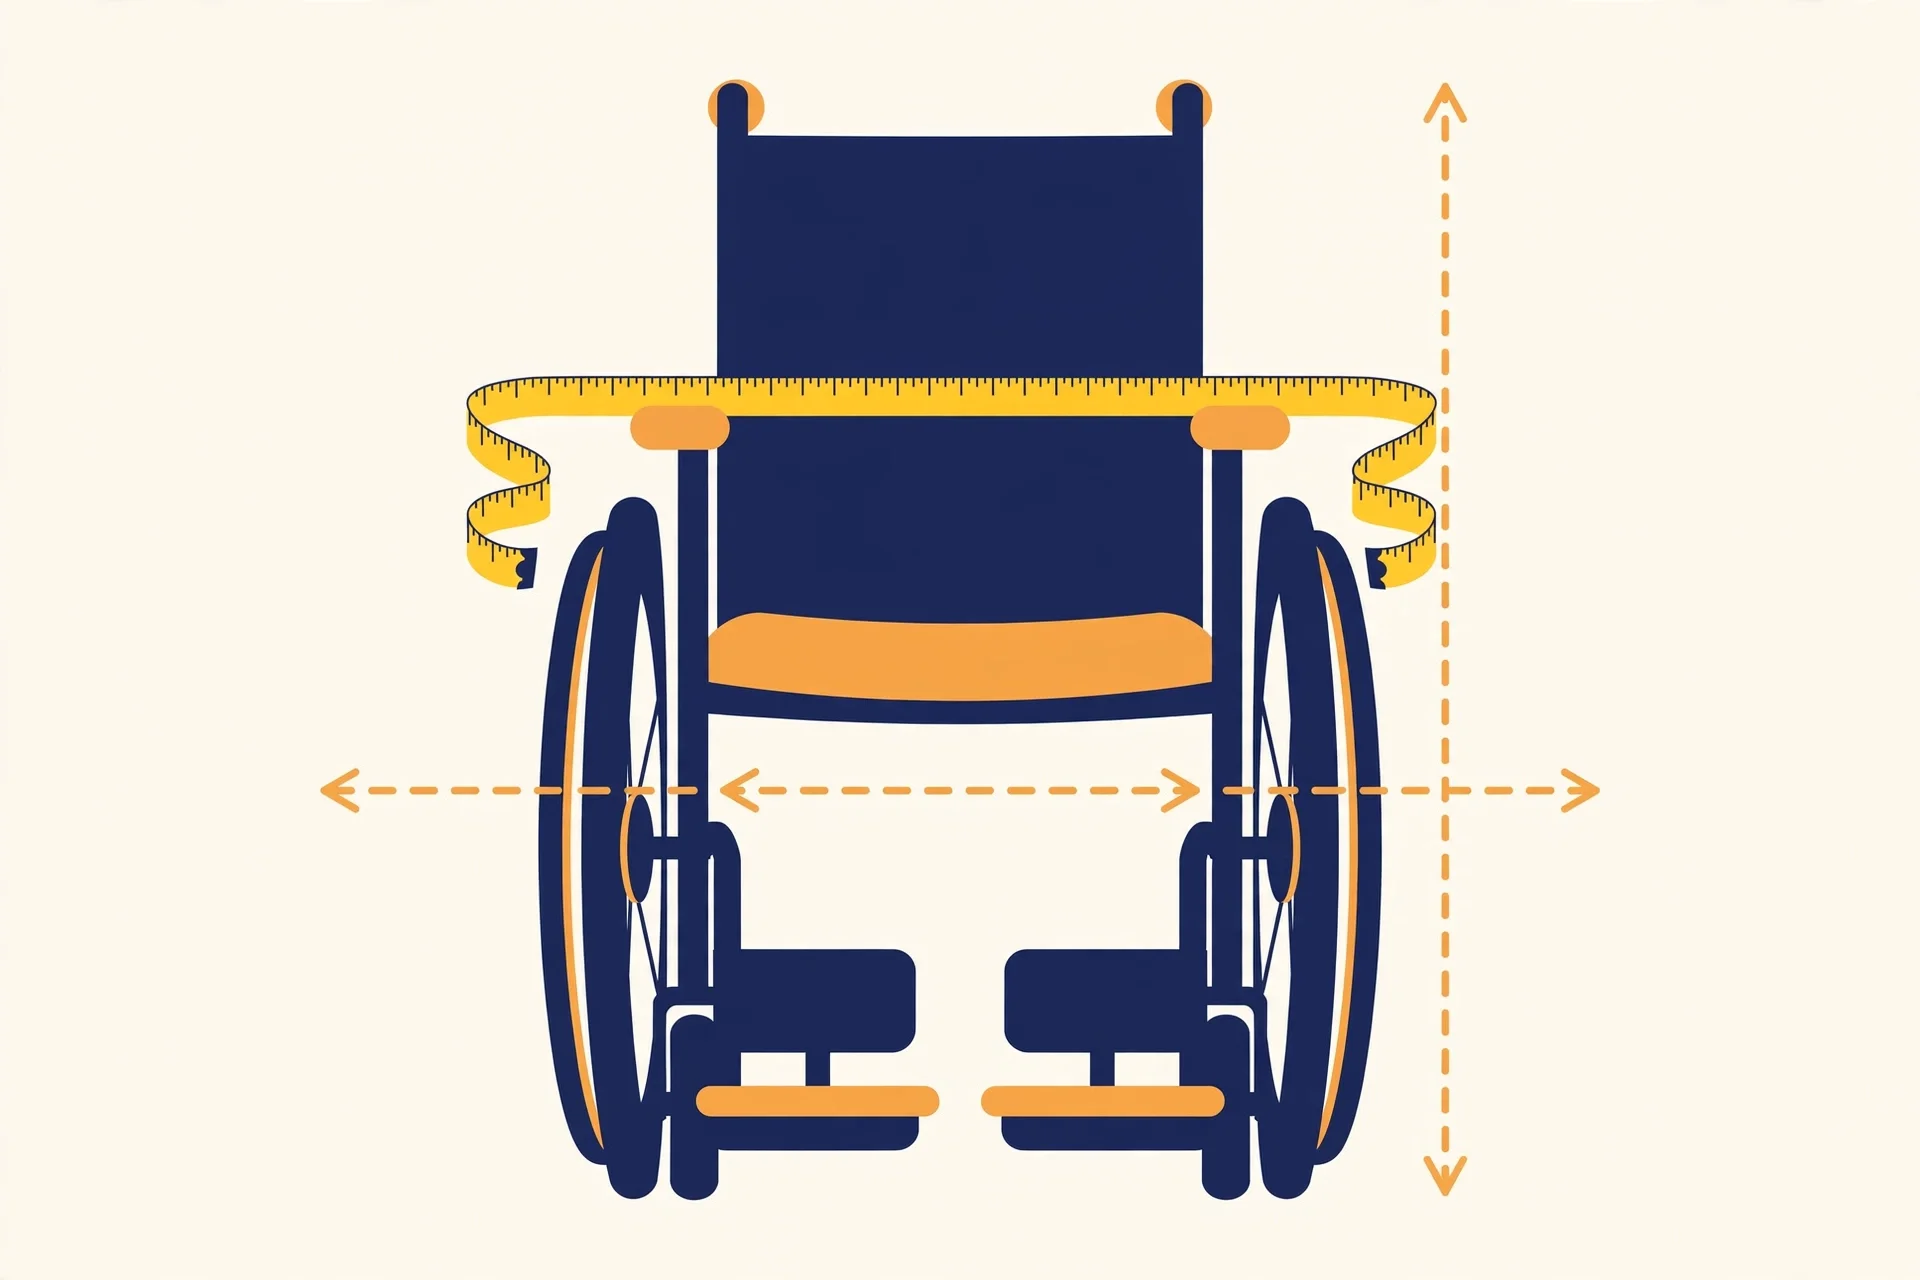
Start with suitability, not the strap. Lap belts of the common retrofit type are designed for most manual wheelchairs and foldable power chairs that have canvas retaining screws, and Drive Medical recommends checking with the manufacturer that belts can be fitted to your particular chair. If those fixing points are not present, the standard belt is not suitable. Fitting should be done by, or checked by, someone competent, ideally the clinician or supplier who recommended it.
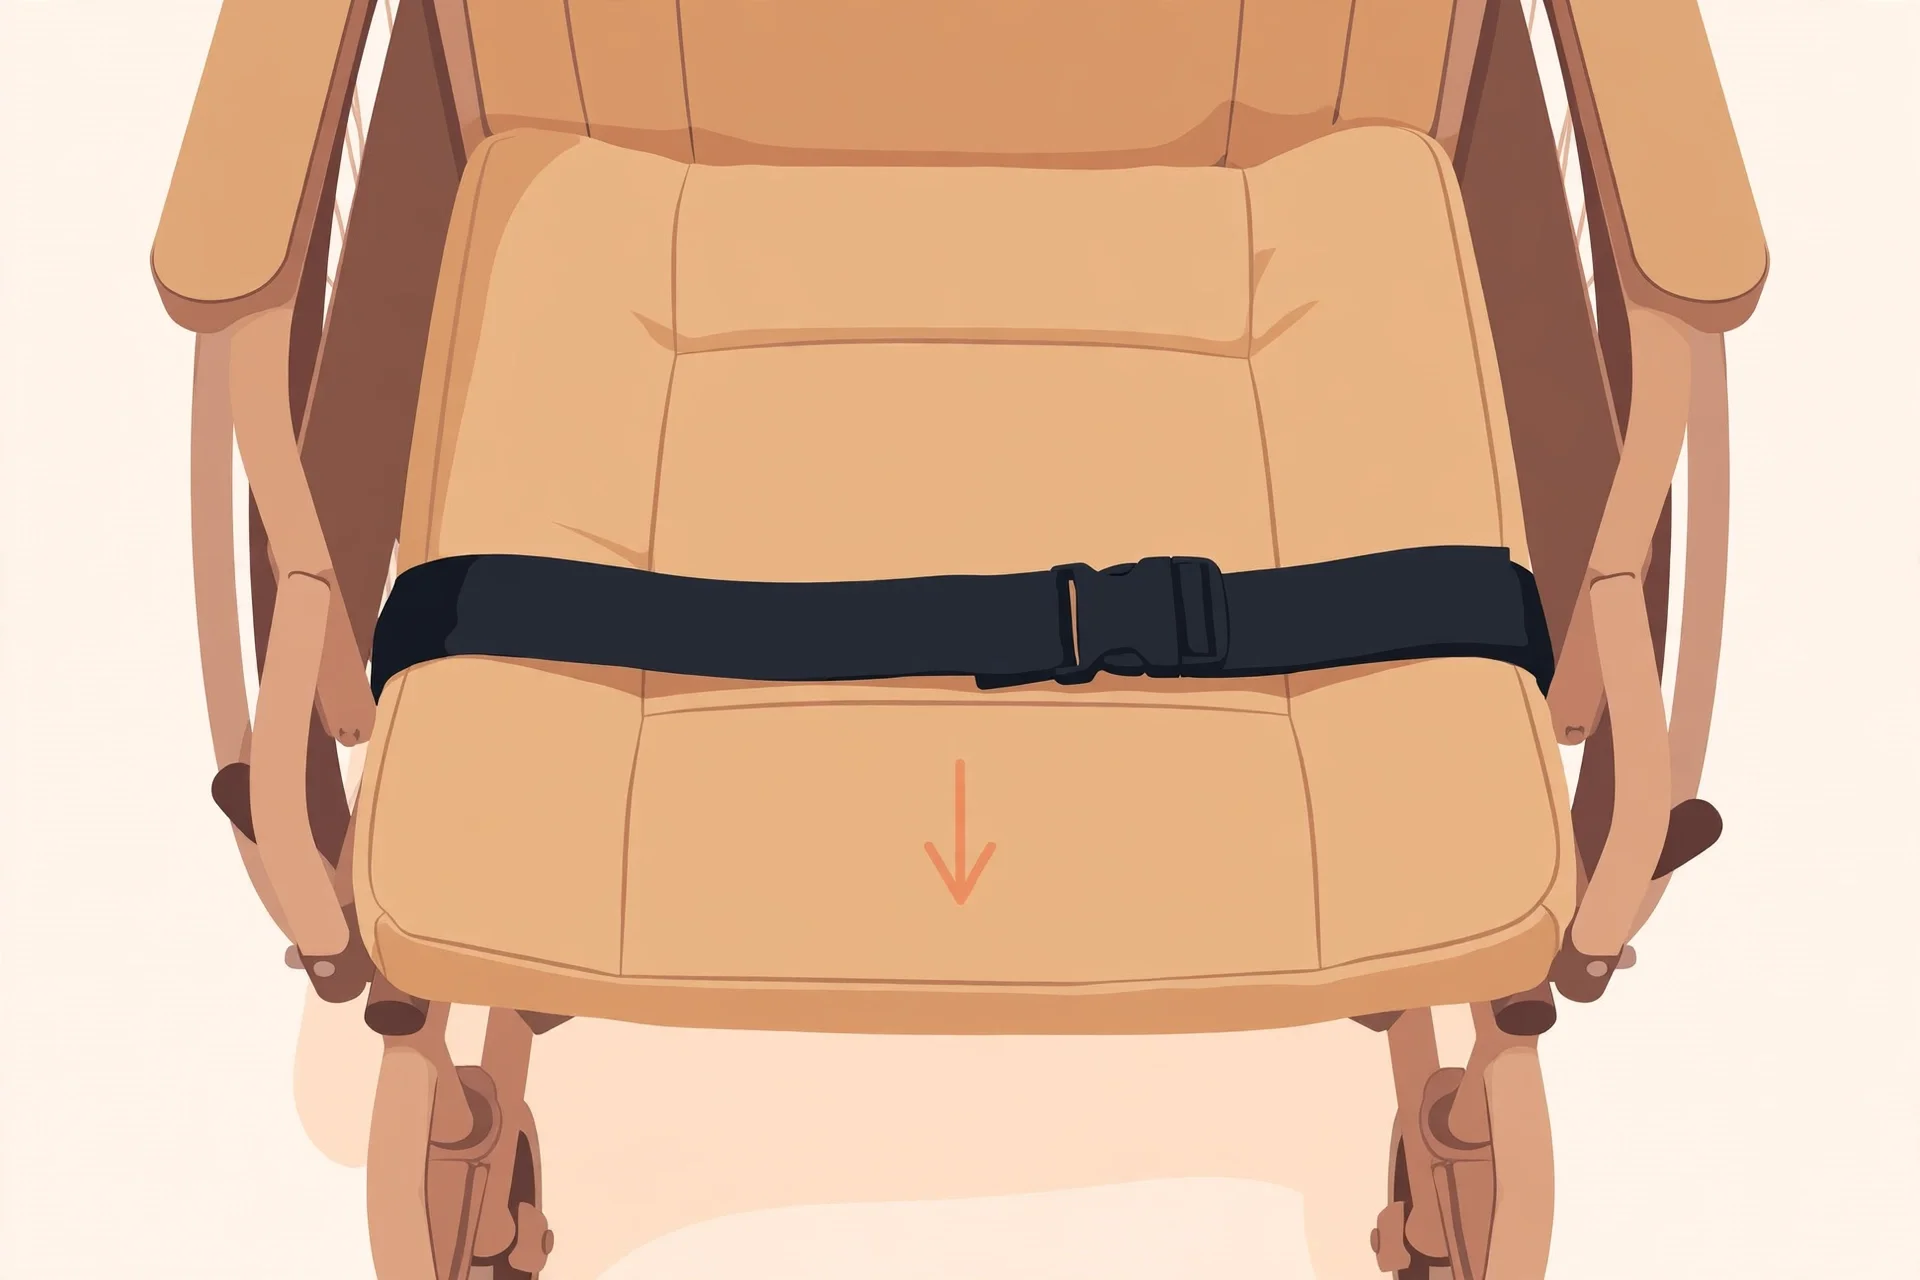
Installation anchors the belt to the chair, not just to the person. The belt is routed around the back of the two back posts of the wheelchair and secured between the posts and the back canvas when the canvas is reattached, so the belt cannot migrate up or down the posts. For safety it should sit no more than about 10 cm (4 inches) above the canvas or cushion height. An unanchored belt is a hazard in itself: if it is not secured to the wheelchair, it can ride up on the body and cause serious injury.
The fit itself is low and snug, never tight. When fastened, the belt should sit across the pelvis, low over the hips, holding the hips toward the back of the chair. It should feel snug enough to do its positioning job but must not cause discomfort or undue pressure. Length is adjusted with the tri-glide sliders on the webbing, and here is the habit that matters most: the length should be checked every time the belt is used, because webbing loosens with movement, clothing layers change, and seating position shifts through the day.
Fastening is deliberately simple. The common design uses a large luggage-style locking clip that pushes into its receiver until it locks with an audible click; to release, you squeeze the clip and pull it out. Anyone who wears the belt, and any carer who fits it, should be able to fasten and release it confidently, because a belt the user cannot release independently raises its own set of safety questions worth discussing with the clinician.
Two everyday details affect fit more than people expect. First, clothing: thick winter coats or layered jumpers add bulk around the hips and change the effective belt length, which is another reason the every-use check matters. Re-check the fit whenever clothing changes significantly. Second, seating position: the belt can only do its job if the person is sitting well back in the chair first. Strapping a belt over someone who has slid forward simply locks in a poor posture. Always reposition the hips to the back of the seat, then fasten and adjust the belt. If the wearer cannot maintain that position even with the belt, that is a seating assessment issue, not a tighter-belt issue.
Safety Limits: When to Stop and Ask a Clinician
The most serious risk has a name: submarining. A user can gradually slip down the seat until the belt ends up around the neck or chest area, creating a risk of suffocation. Drive Medical's safety precautions describe exactly this scenario and give three mitigations: do not leave users unsupervised, make sure there is no excessive slack in the belt, and use the belt as instructed. If you notice the wearer repeatedly sliding down, the belt riding upward, or the fit changing through the day, stop and get the seating reassessed rather than simply tightening the strap.
Watch for warning signs in daily use. Red marks on the skin that do not fade, complaints of pressure or breathing difficulty, new agitation or distress while seated, or attempts to climb out of the chair are all signals to pause use and seek advice. A belt that was right six months ago may be wrong now: weight changes, new cushions, postural changes, or a different chair can all alter the fit, which is why the every-use length check exists.
Maintenance is part of safety. Periodically inspect the webbing for frays, holes, or thinning, and the plastic buckle and sliders for cracks or damage; any of these means replacement, not continued use. Clean the belt with a damp cloth and mild detergent, and let it dry fully.
Finally, know when the decision belongs to a professional. Cognitive impairment, involuntary movements or spasms, fragile skin, breathing conditions, or a history of sliding out of the chair all complicate belt use and call for an occupational therapist, physiotherapist, or physician to assess the risks and alternatives. Positioning needs change over time, so treat the belt as a prescription to be reviewed, not a fitting to be forgotten. When in doubt, ask before strapping in.