Scope: troubleshooting steps from WHILL's Model C operating guide and Pride Mobility's Go-Go Elite Traveller owner's manual. Model-specific icons and breaker locations vary — follow your own model's manual. No safety or warranty conclusions are made here; internal electrical faults are left to authorized service.
In brief
- A dead chair is often the controller refusing to start for safety: a locked state, an off-neutral joystick, or released brakes all block power-on.
- A tripped main circuit breaker shuts down the entire electrical system — rest it a minute, push the reset button back in, and treat repeated trips as a service issue.
- Low battery, powering on while charging, and a badly seated battery are the remaining usual suspects; beyond these five checks, call your dealer.
Is the Controller Locked, or Showing an Error Code?
Start with the display, not the wiring. On WHILL chairs, when certain issues occur an error code appears on the control pad, and the operating guide lists the cause and the fix side by side. If the directional controller was deflected when the arm was rotated upward, lower the arm and power on again. If the controller was not in neutral when the power was switched on, power back on without touching the directional controller. If the error says the brakes were released, lock the brakes before trying again. If the DC charger connector was connected while the power was on, or the device was switched on while charging, disconnect the charger and restart. A low-battery warning simply means recharge the battery. WHILL also notes that some of its chairs can be locked with a smart key: when the device is locked, attempting to power it on shows a lock icon and the chair refuses to start, so unlock it first and then press power again. The pattern here is worth remembering: many dead-chair moments are the controller deliberately refusing to start for safety reasons. Read what the display is telling you, apply the matching fix, and only then move on to the electrical checks below. Keep your model manual nearby, because the exact icon or voice message wording varies by model.
Has the Main Circuit Breaker Tripped?
On many Pride chairs there is a main circuit breaker with a reset button, and it is the first suspect when the whole chair suddenly goes dead. The breaker is a safety feature: when the batteries run low or the chair is heavily strained — heavy loads or steep inclines are the classic triggers — it trips to protect the motors and electronics from damage. You can tell it has tripped because the reset button pops outward, and at that point the entire electrical system shuts down. To reset it, give the electronics a minute or two to rest, then push the reset button back in. If the chair starts up, you have found your cause — but treat a trip as a warning, not just a nuisance. If the breaker trips frequently, the manual points at the batteries: charge them more often, and have your authorized Pride provider perform a load test on the battery pack. If it trips repeatedly even after charging, stop resetting it on your own and book a service visit. A breaker that will not stay in is the chair's way of telling you something deeper is wrong.
Is the Battery Charged and Properly Connected?
A dead-looking chair is often just a discharged or badly seated battery. The rule every manual repeats is the same: make sure the battery is fully charged and its connections are secure before you suspect anything else. WHILL's Model C guide walks through the charging routine: move the chair close to a wall outlet, switch the power off, plug the charger into a standard outlet and check that its indicator turns red, then open the cap and plug the DC connector into the charger port. Charging starts when the indicator flashes green, and the battery is fully charged when the green light stops blinking and stays on. You can also press the charge-level button on the battery itself to read the remaining charge. Two mistakes to avoid: trying to power the chair on while it is charging — WHILL's troubleshooting table flags exactly this as an error condition — and assuming a battery that was charged last week is still fine. Batteries self-discharge, and a pack left sitting for weeks may be too flat to wake the controller. Reseat the battery firmly in its compartment, charge it to full, and try again before calling for help.
Are the Brakes in Freewheel Mode?
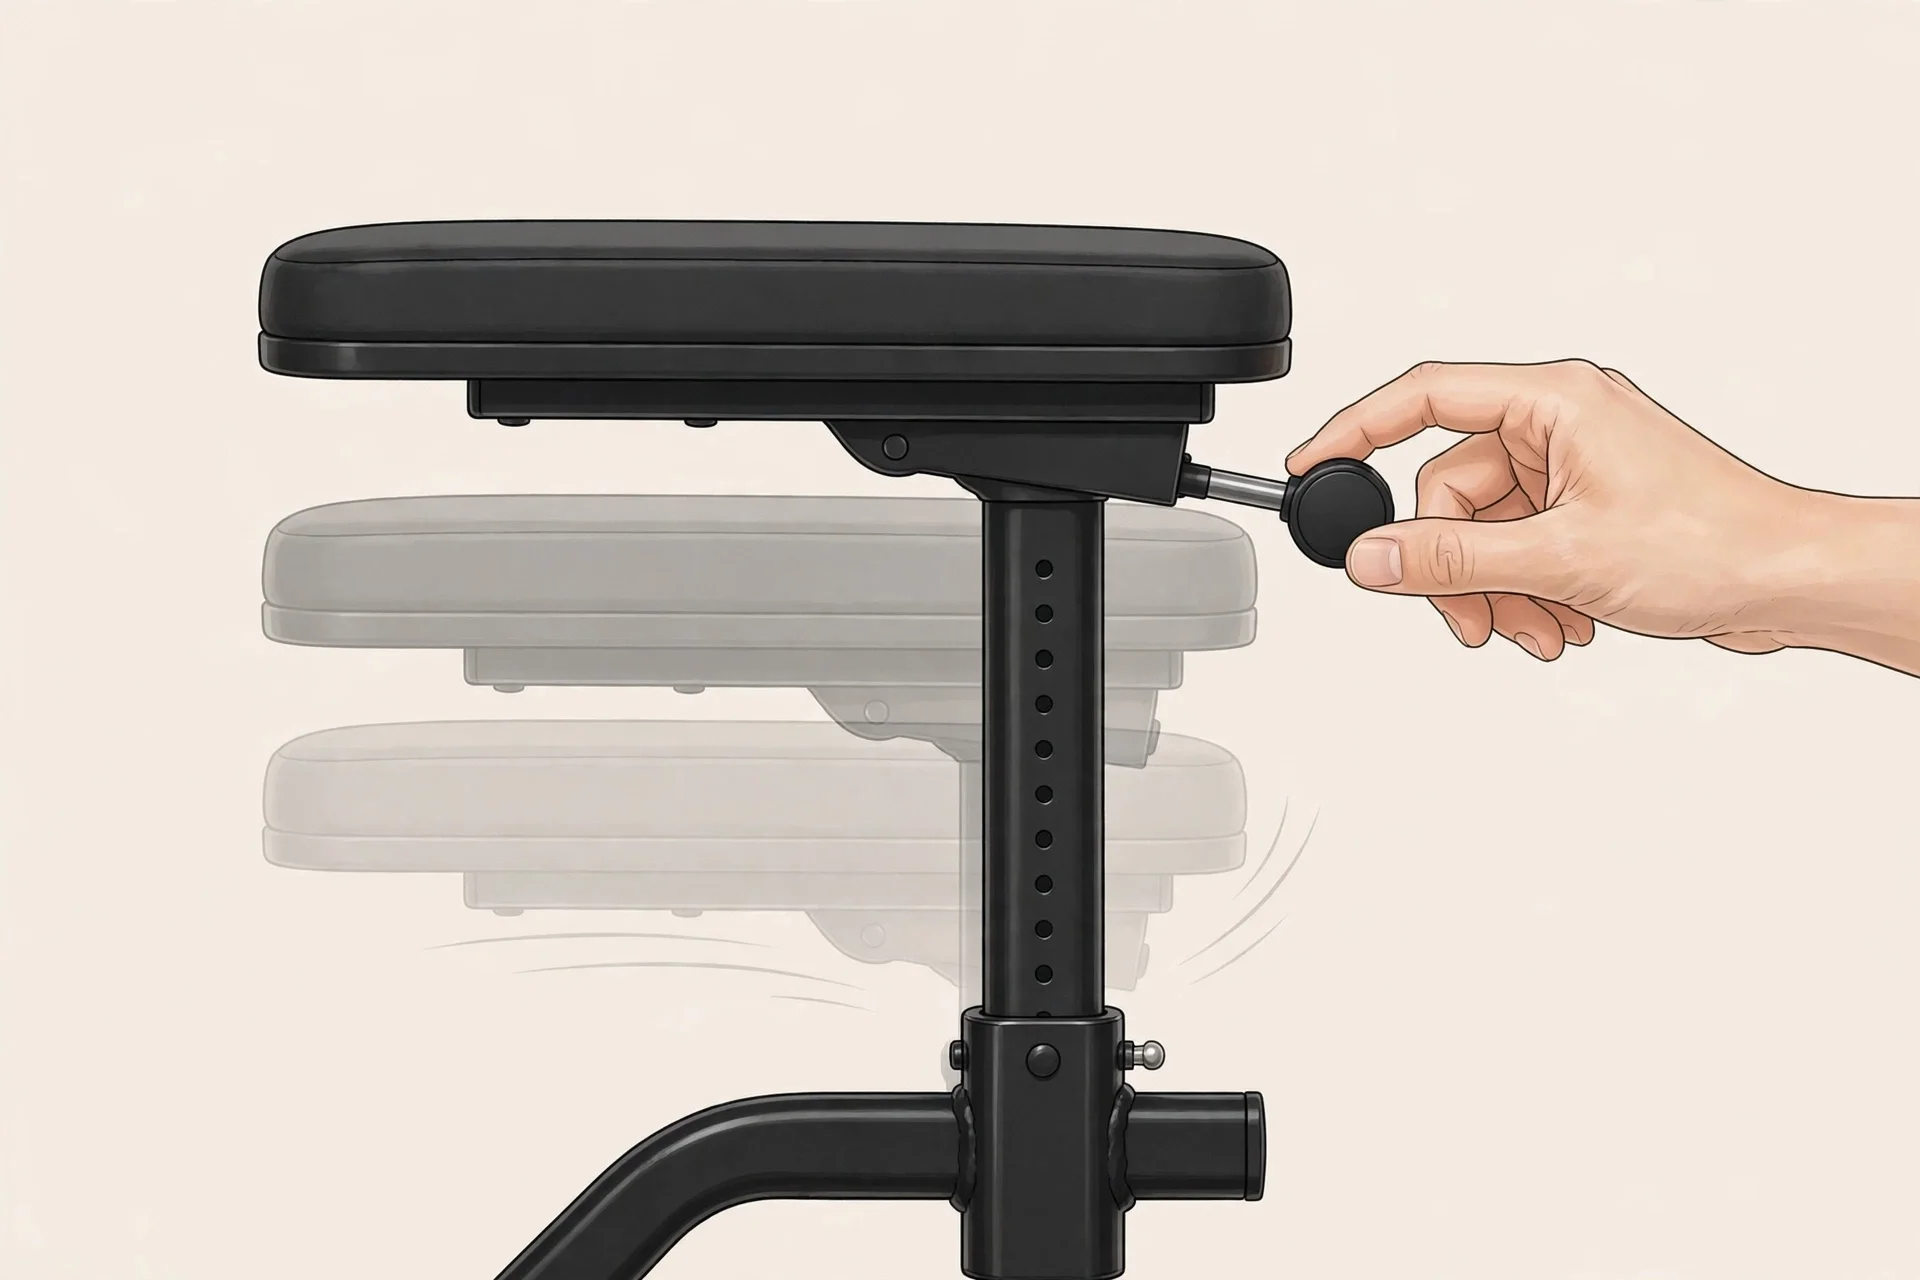
Check this one before you do anything else mechanical: if the brakes were left in freewheel mode, the controller will refuse to power the chair, and WHILL lists exactly this as an error-code cause with the fix “lock the brakes.” Freewheel mode exists so the chair can be pushed by hand when it is out of charge or otherwise inoperable — you push down the two red brake release levers, usually below the seat. To get back to drive mode, raise both levers to re-engage the brakes, then press power again. While you are at it, a quick safety note from the same guide: freewheel mode is for emergencies on level ground only. Never release the brakes on a slope, and always re-engage them after the chair has been moved manually. Someone may have flipped the levers to push the chair through a doorway and forgotten to flip them back — it is one of the most common and most harmless explanations for a chair that suddenly will not start.
When to Stop and Call Your Dealer
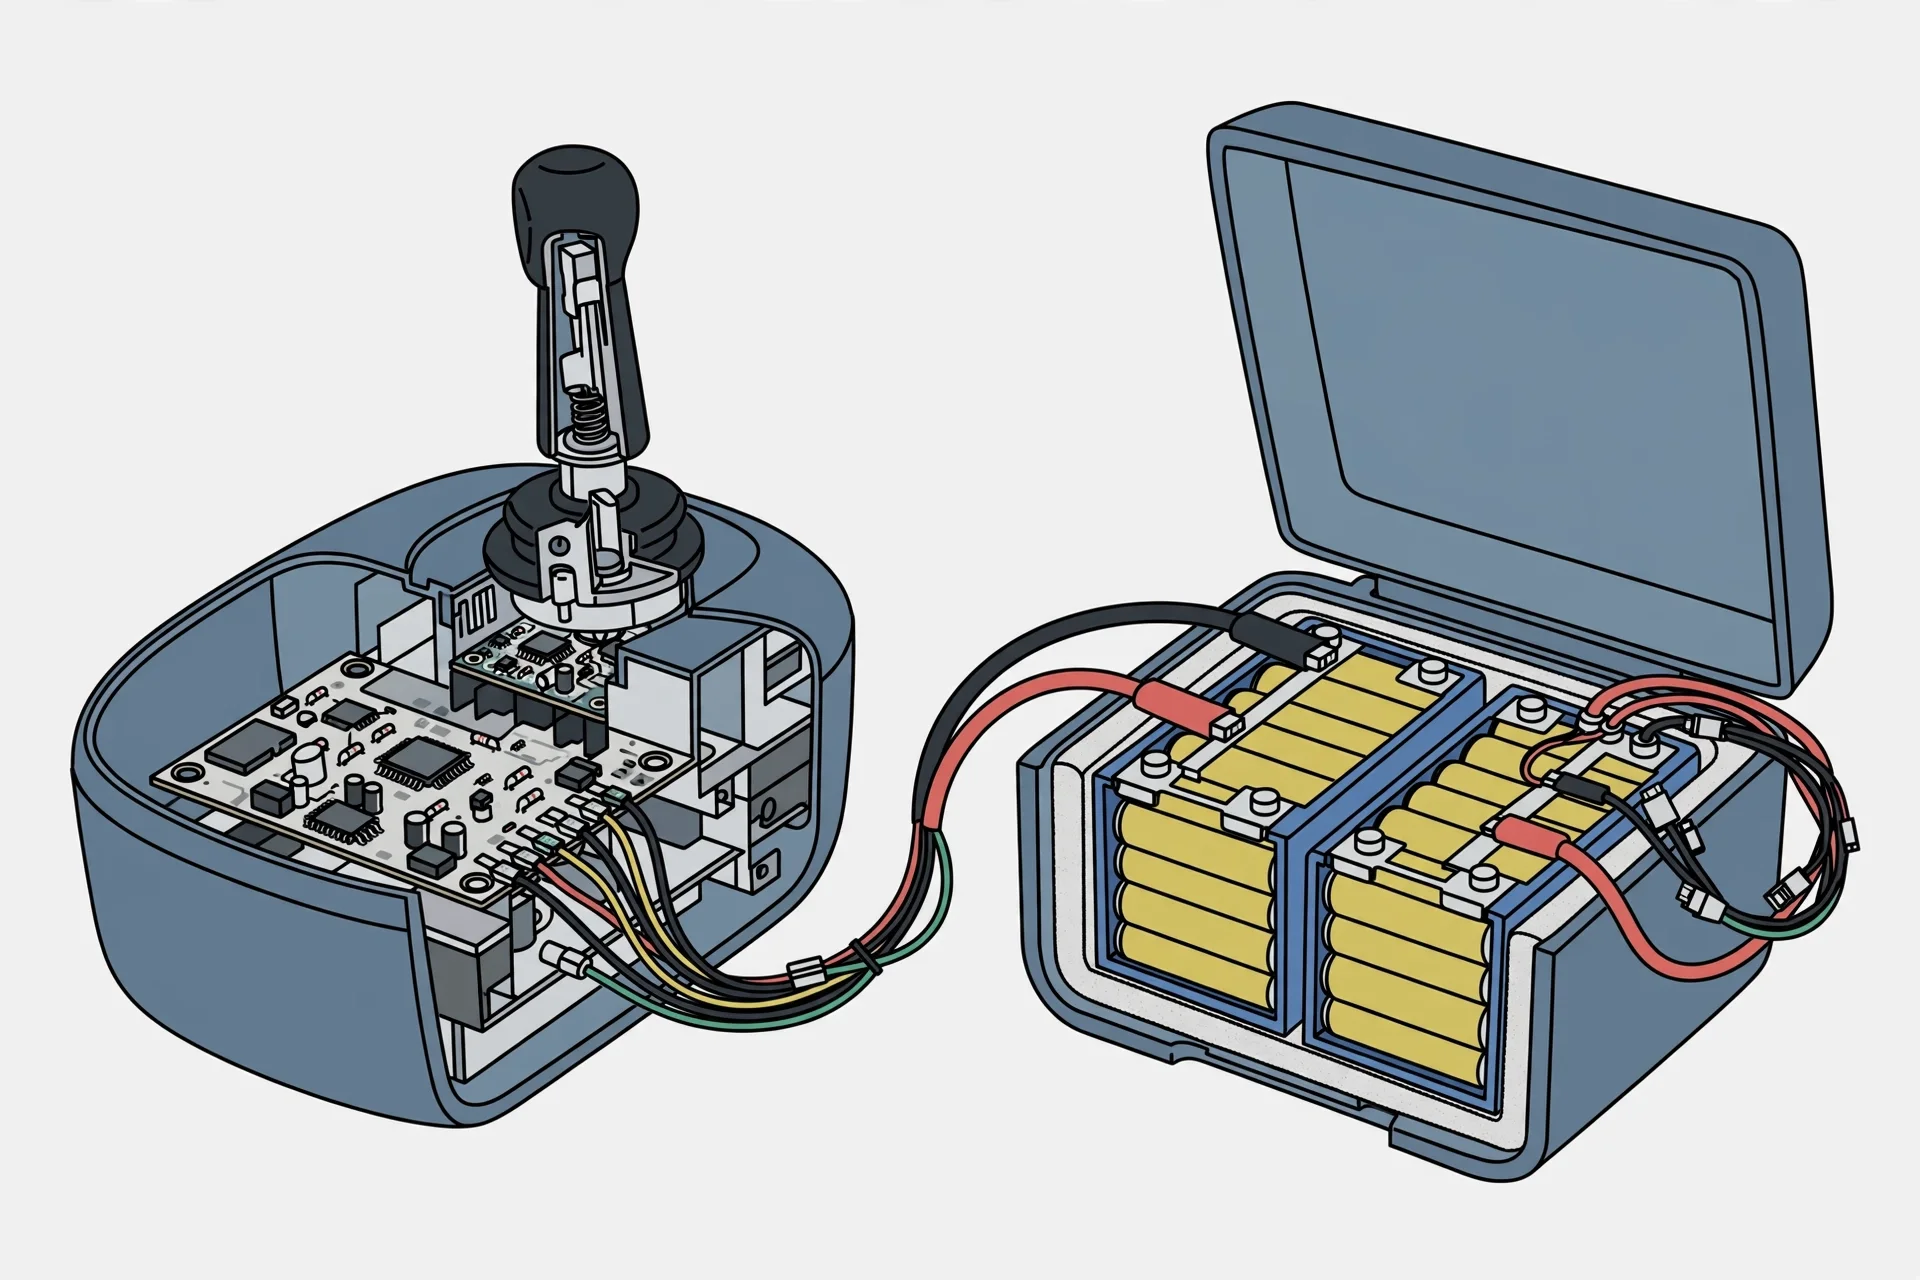
If the steps above do not bring the chair back, stop troubleshooting and hand it over — this is the safety boundary every manufacturer draws. Do not open the controller housing, unplug internal harnesses, or bypass the circuit breaker: those parts carry high current, and the manuals consistently route this work to qualified personnel. Call your authorized dealer or the manufacturer's support line when an error code persists after the matching fix, when the main breaker trips repeatedly despite charged batteries, or when you notice anything new — unusual smells, sounds, or behavior that was not there before. If the chair is still under warranty, do not attempt internal repairs at all, because unauthorized work can void coverage. Before you call, gather the model name, the serial number, and a short list of what you already tried and what the display showed — that short list is the single biggest time-saver for the technician on the other end of the line. The message to take home is simple: the five checks above are the limit of safe user-level troubleshooting, and knowing where they end is just as important as knowing where they begin.